It's been a minute, eh? I thought the pandemic would give me tons of time to write and reflect so I could polish this blog into a sweet little influencer deal; as it turns out the last thing I want to do is write about my heavy thoughts after living through the tragedy and trauma of Covid. Plus, running this place with the addition of virtual school, home school and zoom everything does not actually leave me with much free time. Instead, I find myself reading about subjects I never gave much thought to (public health, epidemiology) synthesizing these things ("Eric what does this actually mean") and then getting to work.
Around my house. Because existential anxiety is best spent on PROJECTS. In short, we have harnessed the incredible power of YouTube to become DIY phenoms.

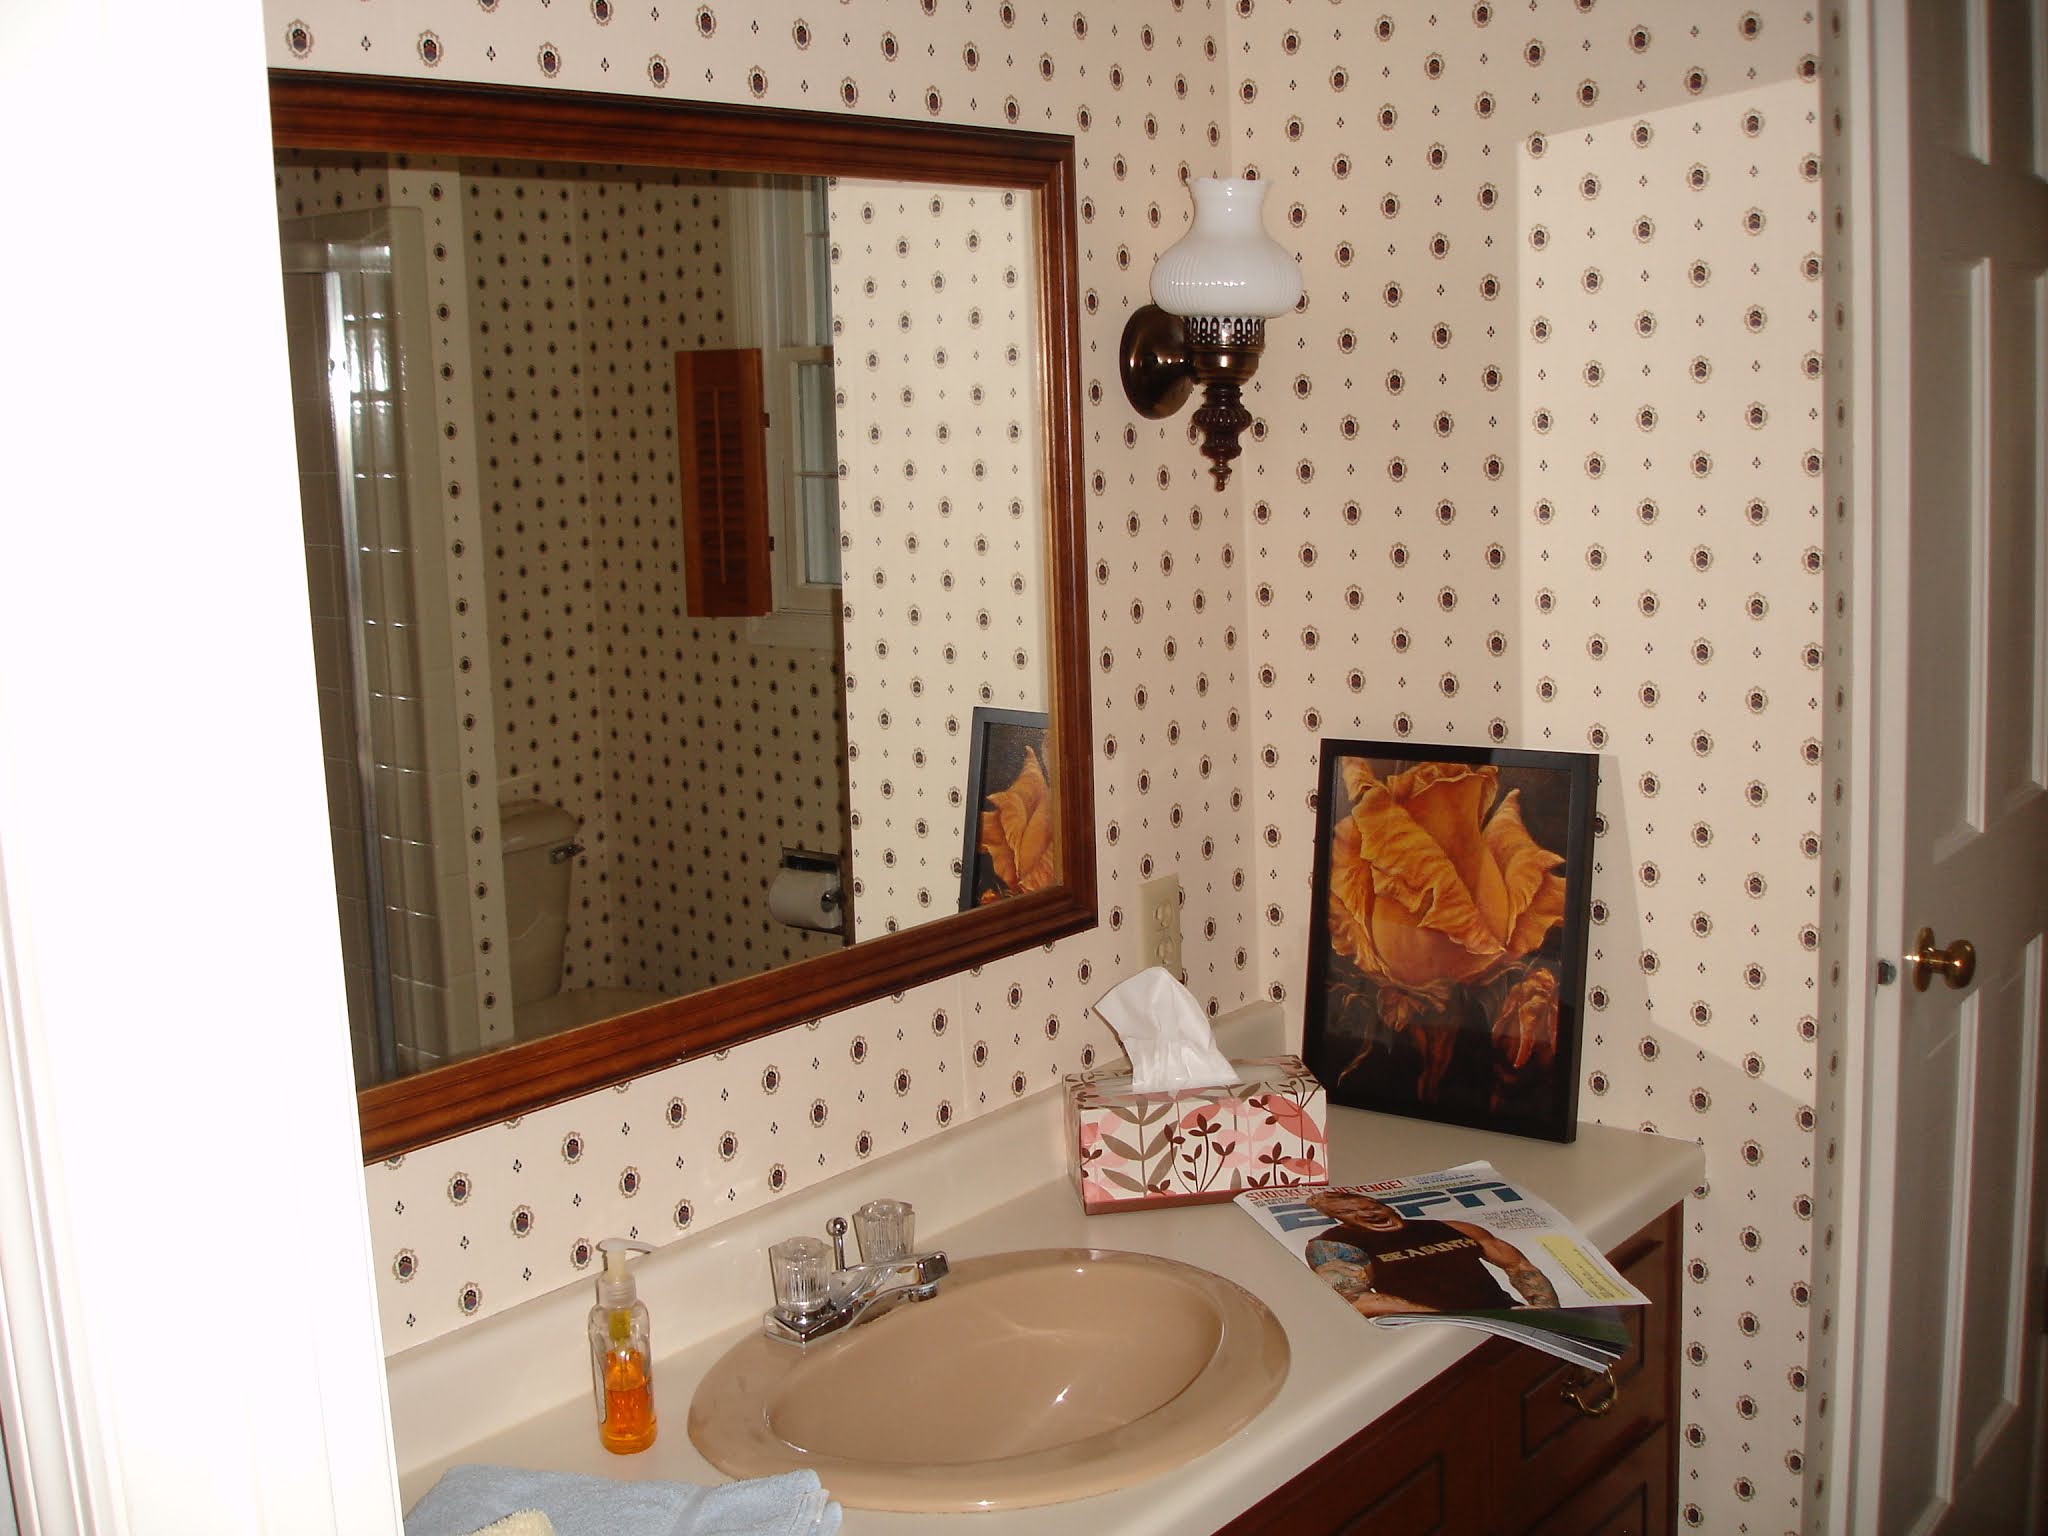
This bathroom, the kids bathroom, was original to our house, built in 1980. We suspected a leak behind the shower and needed to replace the entire tub and shower unit. Cost: $5K. I knew if we were going to start down the path of a reno, I wouldn't be able to stop, but my budget did not support exactly what I wanted, ESPECIALLY because the vanity was custom built to fit the space and we could not find a pre built one to fit the exact specifications, unless we wanted to spend another $5K. Which we did not. I figured stripping the wallpaper, painting the walls and maybe a new rug and accessories would get me through.
It did not.
I am terrible at remembering to take before shots, so these are all I've got. I also found this one from Snapchat archives on a day Grace was particularly amusing.
After the tub and shower were redone, I couldn't stand the dark brown cabinetry, so I painted it. I thought that would get me through.
It did not.
I couldn't stand the dark brown linoleum floors or the beige countertop and brown sink. So I got to work. Read on for the order of operations and allll the trial and errors.
I primed the cabinets and floors with regular primer, then painted the vanity Sherwin Williams Oleander, which was leftover from Grace's room. At this point I had spent no money on these little facelifts, which was exciting, but I knew I'd have to put a small amount of cash into this space in order to finish it off. I was hoping to keep it under $300 for materials and accessories, knowing that all of this might blow up in my face and I could certainly sell off some personal assets (old auto show wardrobe, you feel me Ford peeps) for $300 and keep the peace in my marriage.
Next up: walls.
The walls were a bit of a mess because of the damage done from the wallpaper (our plumber was kind enough to come over and re-mud them for me) so I sanded them, cleaned them, primed them with 2 coats of heavy duty primer and then painted with leftover paint from a previous project (Snowbound from SW). I ended up needing more, so I opted for a gallon of their mid-grade paint and gave the walls 3 coats to make sure they looked and felt even. Cost: $50.
I investigated the best way to paint a floor, and the pinterest community recommended this floor paint by
Rustoleum. The internets were all out of stock and it was not carried at my local hardware stores so I visited my paint guys at Sherwin Williams where they spent 15 minutes trying to talk me OUT of painting my floors, before I told them I had already primed them so they may as well tell me what to do next. They grudgingly suggested their porch paint, and because I enjoyed the brightness the primed floor provided, I opted for white. The paint has held up well, it was super easy to apply, and my only comment is that white shows all the sins of a kids' bathroom. This felt like a splurge: $55 for the floor.
Around the same time, I investigated how to fix my sink and countertop. Both were in good shape so they didn't need to be replaced, PLUS I want to eventually turn this into a double sink, so I didn't want to spend on a cheapie counter and sink if I didn't have to.
Enter appliance epoxy spray paint. This stuff is nasty and I should have used a respirator, but it is MIRACULOUS. I sanded the sink and counter, cleaned it well, and then gave it two coats of this.
You have to follow the directions very carefully because of the dry time, and it has self leveling properties so DON'T MESS WITH IT because it's not forgiving. It's held up really well, is easy to clean with Norwex products and other wipes, and in a pinch for a project like this, I highly recommend it. There's a tiny portion at the bottom of the sink that didn't dry perfectly flat, but that part is usually covered in bright blue bubble gum scented toothpaste so I don't get too bent out of shape about it. I needed two cans, one from a hardware store and ordered the other on Amazon, spent about $12 total.

About this time, I ordered some
wallpaper from Amazon to line the vanity drawers. I loved the contrast of the paper inside the pink vanity and decided to order more to see if the girls might like it on a wall or two.
They didn't, but I did! For $40, I lined all the drawers and gave them a cute accent wall. When we get sick of it, I won't feel bad because it was so reasonable, and it's a breeze to work with because it's peel and stick!
Next, I ordered nearly every type of hardware known to mankind. I thought this would be an easy decision but I was WRONG. I was torn between a cohesive look (brushed nickel in the shower, and silver sink faucet), going off book with a splash of gold, or strengthen the overall design with black. After literal days of agonizing, I found a cute gold mirror at TJ Maxx and I took that as a sign the hardware should be gold. I spent $10 on these cabinet pulls and had three left over!
Then, I got to do the fun stuff. Target, TJ Maxx and Hobby Lobby provided me with sconces, the mirror, rug, shower curtain and cute art and accessories to polish this room off.
The accessories, closet and drawer organization put me a bit over budget, but by this point, I knew the space could be enjoyed for at least a few years and I was willing to spend a little extra to make it shine. The entire project cost me just over $350.
I did this project, with the exception of plumbing and hanging the wallpaper, by myself. Eric was mostly neutral about it, with the exception of a few raised eyebrows and skeptical glances from time to time. When he ordered the print of Princess Leia curling her hair (below) and presented it to me as a possibility for the girls bathroom, I knew I had won him over. That may have been my favorite part of this whole process.
Oh, I also sanded,
primed and painted the shutters with materials I already had! And every seam in the joint got a thin line of caulk to make sure all the edges were clean.
The wall behind the toilet was designed by shopping the rest of my house. It's cute enough for now, and easy enough to change up with the seasons or when I save enough pennies to find something exactly right.
This was a labor of love-- for what it is, what it represents, and for what I learned-- it ended up being labor I loved doing for a space that befits two girls I love more than anything.
You can come see it if you're vaccinated :)